2 cups (8.5 oz.) flour
1 teaspoon salt
1 teaspoon baking soda
1 teaspoon cardamom (optional)
2 cups buttermilk
3 egg yolks
3 egg whites beaten to soft peaks
Whisk together the flour, salt, baking soda and cardamom until well mixed.
Mix in the buttermilk and egg yolks and mix until smooth.
Fold in the egg whites.
Grease or spray an æbleskiver pan and heat over medium heat. When water sizzles, the pan is hot.
Fill each cup 2/3s full and cook for approximately 3 minutes until it expands slightly above the rim of the pan.
Using a skewer, turn them so the cooked side is on top and cook the other side about 3 minutes.
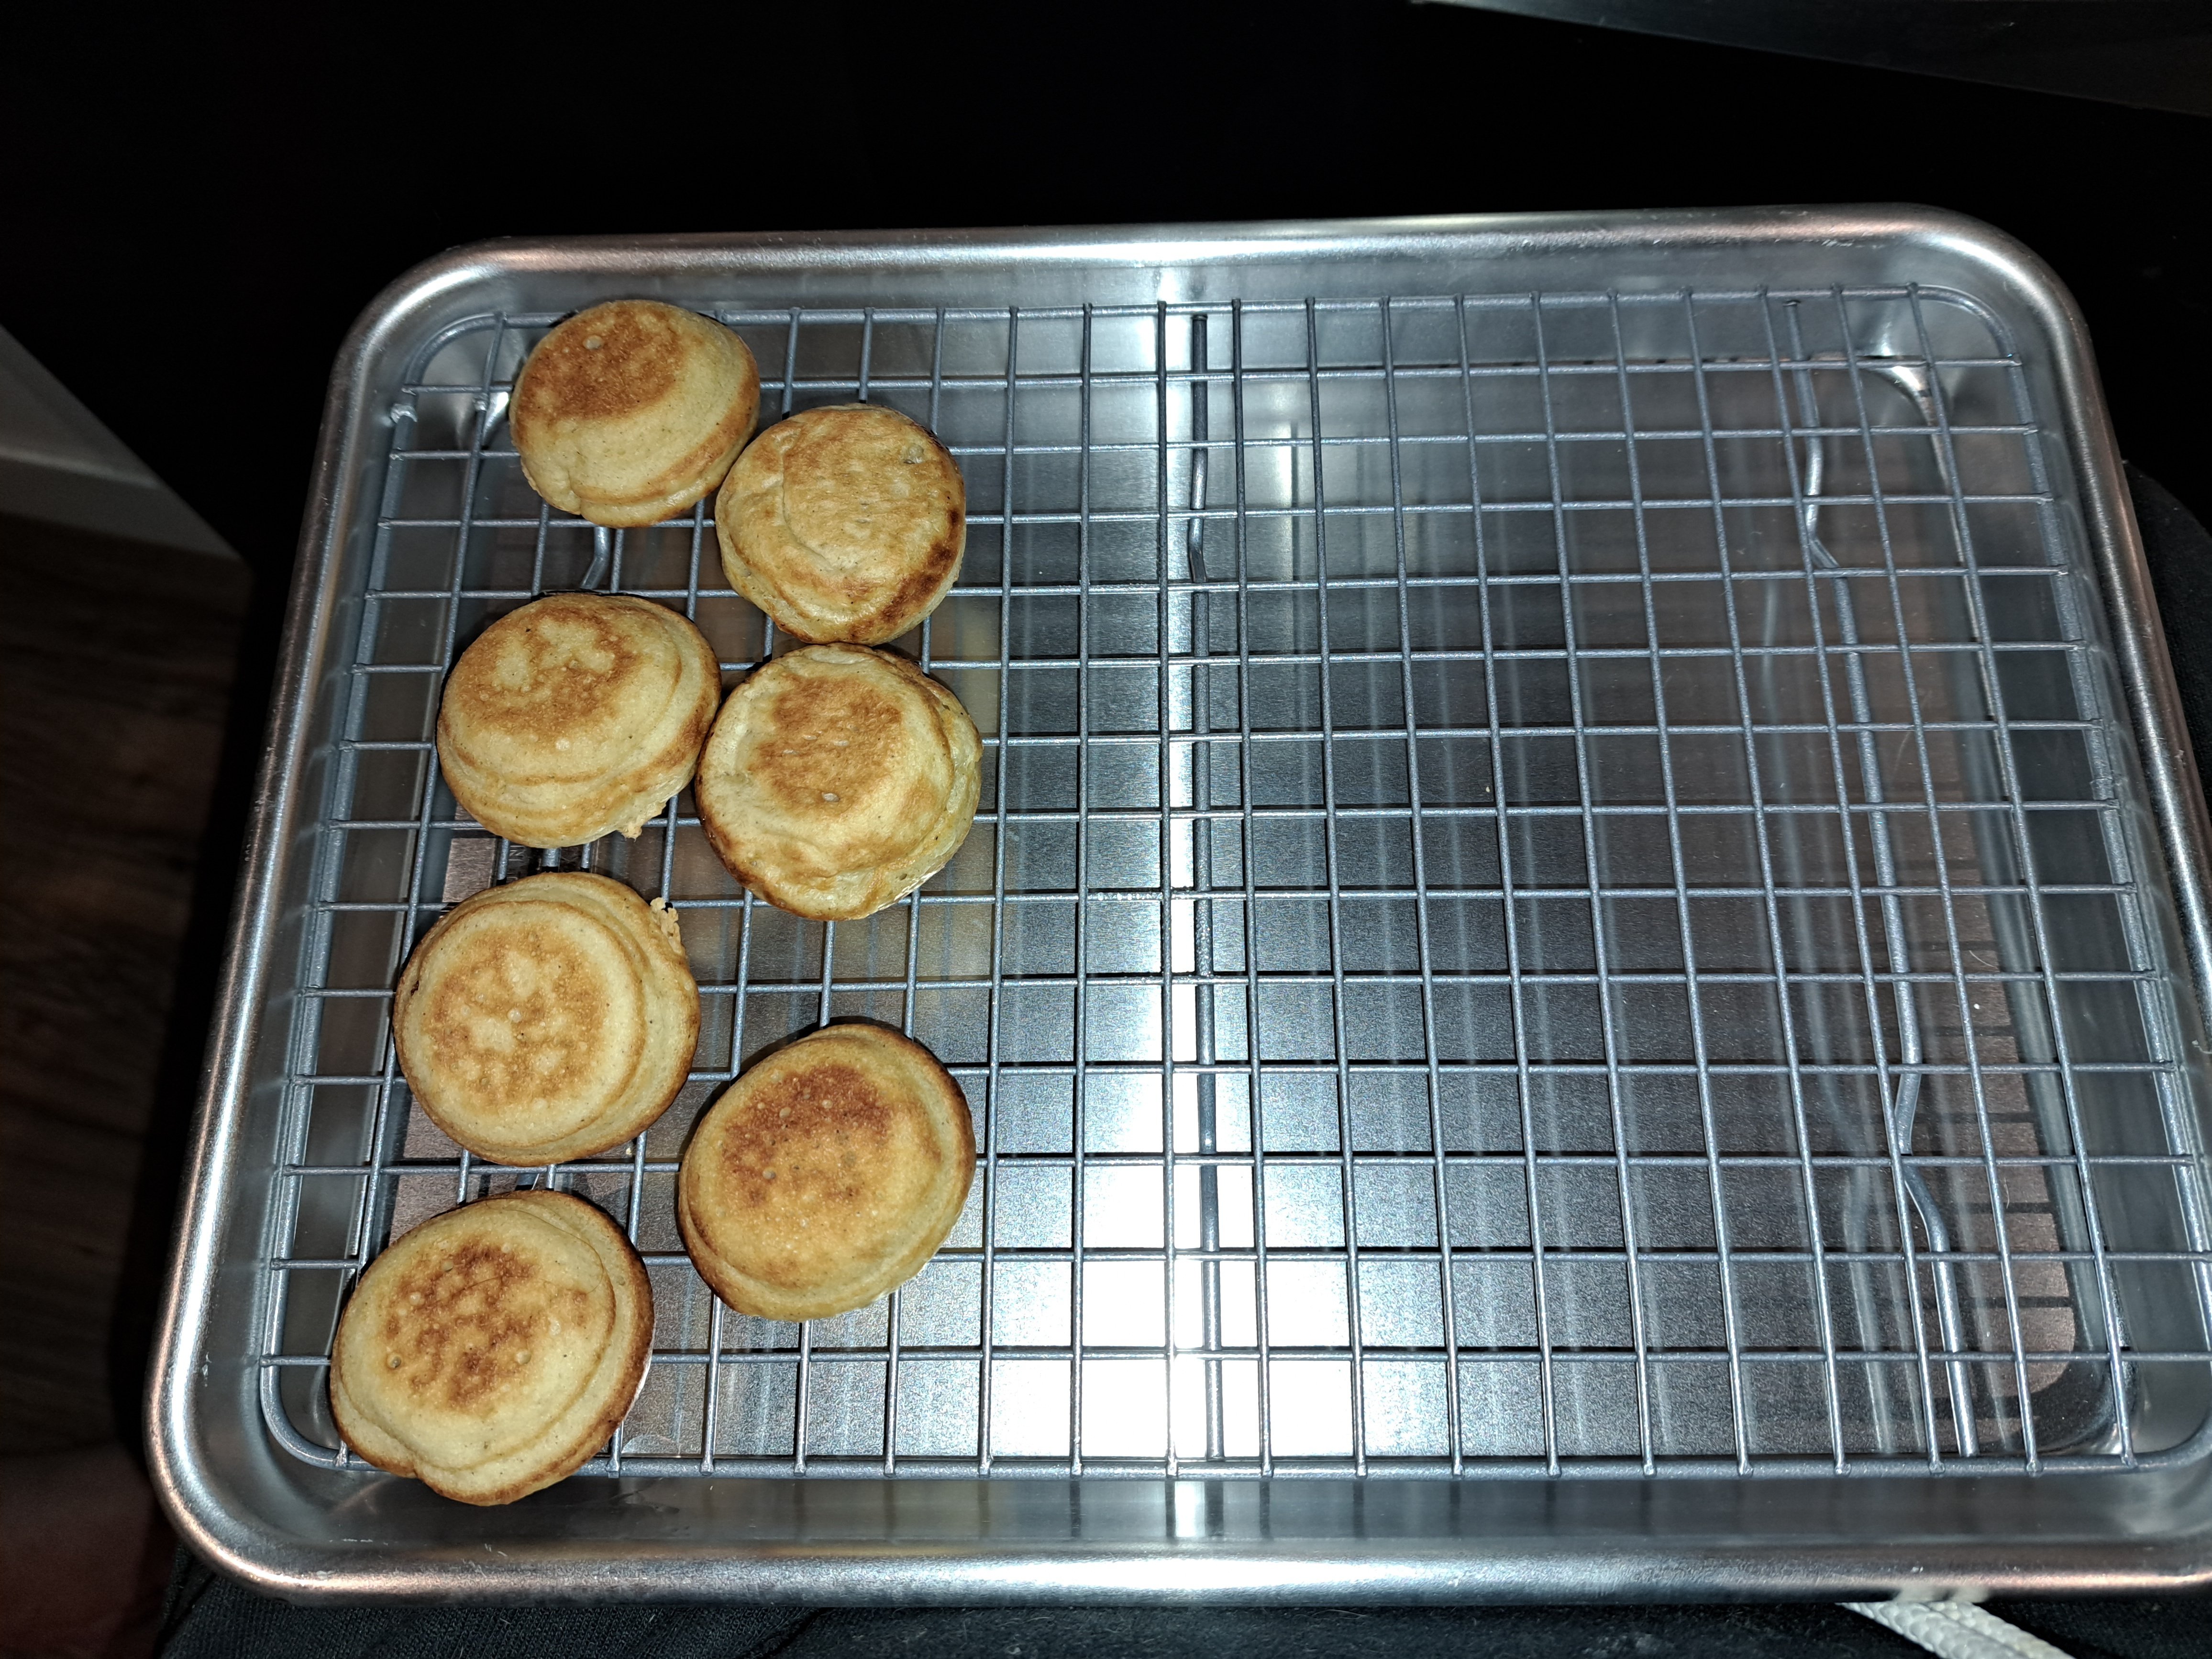
When an inserted skewer comes out clean, they’re done, transfer to a wire sheet to cool.

Eat however you’d like pancakes. Cut them open, stuff them with butter and jam, sprinkle powdered sugar on top, syrup, whatever floats your boat.
Batter says it makes 35 to 40, I’m 21 in and there’s still a LOT of batter left.
Alternate recipe:
Fill each cup 1/3 full, add whatever filling you’d like, then the remaining 1/3 of batter. Turn and cook as normal.


I should say too, this is a cast iron æbleskiver pan and new cast iron needs seasoning before use to make it non-stick.
I took vegetable oil and rubbed the pan all over with paper towels, top and bottom, the put it upside down on a 1/4 sheet baking pan and baked it in the oven at 450° for an hour, rotating it 1/2 way through.
Let cool for 15 minutes and repeat 2 more times. Hardcore cast iron fans will do this as many as SIX times, but 3 looked good enough. ;)
That took the bare silver cast iron and turned it this lovely bronze color. It will continue to darken through use.
The pancakes popped right out, all I used was a cooking spray.
Thank you for mentioning this. I tried making these years and years ago, using a pan from a gift set. It was supposed to be preseasoned. It just made a mess.
I put it away and thought of it from time to time followed by remorse at what a pain in the ass it would be to use it.
Note that I have experience stripping and re-seasoning heirloom cast iron skillets, griddles, etc. Reconditioning them and saving them from a rusty fate. But I never registered in my head that although the gifted æbleskiver pan was cast iron, that maybe I failed with it because I hadn’t seasoned it. So today I spent a few hot smoky hours with it. It may need another full treatment, but I can already tell a difference in the surface. I’m looking forward to trying your recipe!
Apparently the more saturated an oil is, the better it works - it makes for a denser, harder layer.
Cooks Country/America’s Test Kitchen did a bunch of testing years ago, and determined flaxseed produced the best results. I’ve done many layers on some cookware because I needed to do a new piece anyway, may as well add a few others to the oven (since it’s a smelly job!). It’s amazing how nearly non-stick my cast is now.
Though any cooking oil will work.